GUIDE

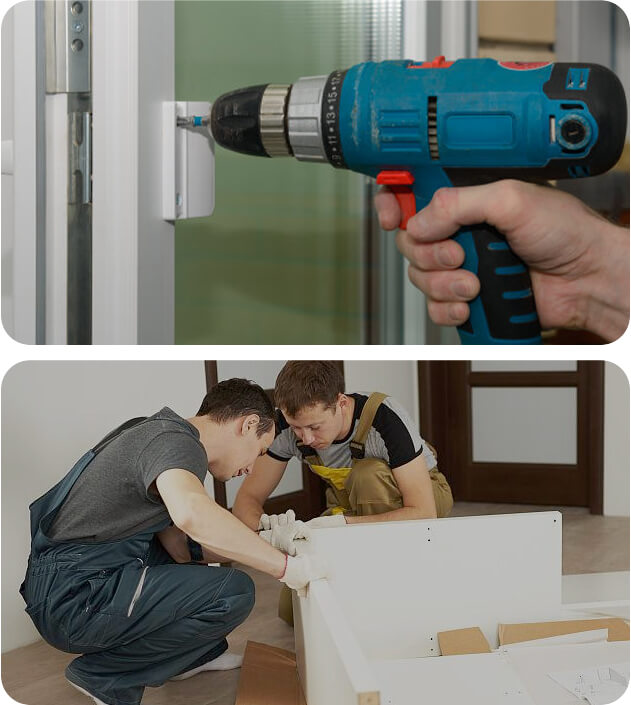
1. First of all, the installer should understand the process requirements and overall structure of the product; The functions and characteristics of each hardware fitting. (These can be obtained in the product manual, hardware accessories information, installation instructions and other information)
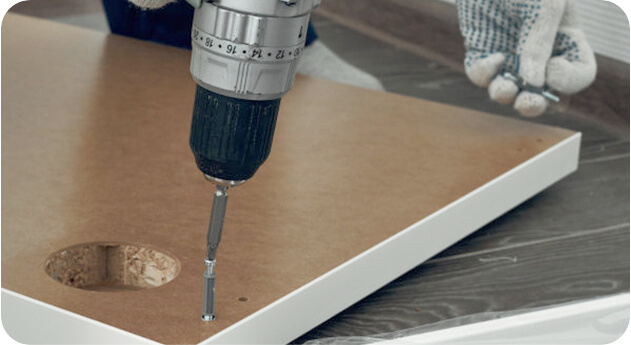
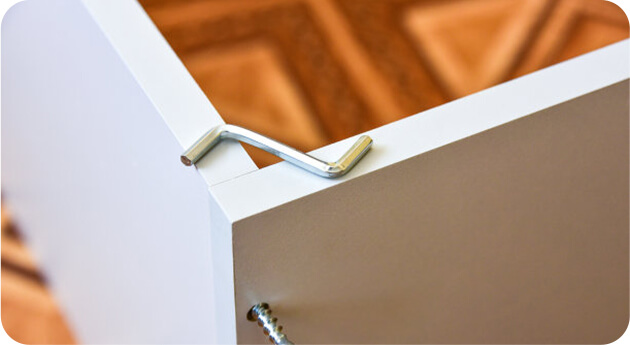
2. During the installation process, all the components should be found first, and the installation ideas should be sorted out according to the requirements of the installation instructions (what to install first and then what to install). Check the quantity and quality of parts. Attention should be paid to protective products during installation: handle gently, do not drop with your feet or hand wrench when the installation is not smooth. When installing wooden tenons and rubber particles with a rubber hammer, the force should be light to avoid damaging the surface of the product and leaving hammer marks. When installing glass and mirrors, be careful not to break them. When installing frosted glass, the frosted surface should be facing inward, and the door glue and guide rail should be reinforced after passing the commissioning, and the guide rail should be equipped with at least three or more screws.
3. Common problems and solutions for installation:
1) The gap between the cabinet and the door panel is uneven, and the main door hinge should be adjusted up and down (which requires the installer to understand the function and characteristics of the door hinge very well)
2) The gap between the cabinet bucket and the cabinet body is uneven, if it is a gap between the left and right, it can be adjusted by padding a thin sheet to the side of the guide rail on the side of the side with a large gap; If it is a gap between the top and bottom, it is necessary to adjust the height of the guide rail.
3) Plate loosening: The loosening of the back plate will cause the stability of the overall structure of the product. There are several reasons for the loosening of the backplate:
3.1. The slot of the backplate is too deep.
3.2. The size of the backplate is smaller.
Both of the above can be solved by placing a thin sheet into the groove.
The specific problems must be based on the actual situation, and the actual operation will not be given here one by one!

1. First of all, clean up the paint and wood burrs that have been separated from the layer around the gaps and scratches, according to the size of the gap area and the depth of the scratches, use the filling method, take an appropriate amount of epoxy soil close to the color of the product, pinch it evenly with your fingers, and fill the tight seams within 3 minutes (about 4-7 minutes to cure and dry, and then use a wallpaper knife to scrape the epoxy soil of the high object from the outside to the inside, sand it with 320# sandpaper, sand, sand, spray with bottled transparent primer, keep the distance from the object (100-150MM), and it should not be too thick at a time. To prevent whitishing (about 5-10 minutes dry), clean the sand road with 400# sandpaper, select a toner or oil pen that is basically close to the color of the product, when repairing the color, first light and then dark, gradually deepen the color layer by layer, the quality requirements are consistent with the color of the object, and then spray bright light (about 5-10 minutes), take the wood grain pen that is consistent with the texture and color of the object, follow the texture of the original object, and then use 600# sandpaper to remove dust with light sand, and then choose a topcoat that is consistent with the brightness of the original object.

1. The product process requires open coating, thin surface paint, easy to be damp and north and south climate change, affecting product cracking, plus quality accidents such as rot and notches in the transportation process.
2. In the case of small notches and scratches, use wax strips (many varieties) with an electric soldering iron knife to heat the wax strips to prevent the soldering iron knife from burning out and discoloring the product, apply the gap around with heat protection paste, and scrape the excess wax around the gap after filling (about 2-3 minutes dry), and use the color of the original object to repair the color, first light and then deep, and gradually deepen layer by layer to be consistent with the original color, and then use steel wool sand to remove dust and paint.
3. In the case of a large gap, choose the epoxy soil that is basically close to the color of the product, pinch it evenly with your fingers, fill the tight seam within 3 minutes (about 4-7 minutes to cure and dry) from the outside to the inside to scrape the excess epoxy soil around the gap and the surrounding it, sand it flat with 320# sandpaper, spray primer (about 5-10 minutes) with toner or oil pen to repair the color, spray bright light (about 5-10 minutes dry) with a wallpaper knife to depict the wooden eye, make a texture method, hold both sides of the knife, and engrave according to the texture of the object, not too deep, Keep it consistent with the original texture of the object, use steel wool light sand to remove dust, and use a topcoat with the same brightness as the object.

1. Put the puzzle glue at the gap position, tighten the fixation with an iron clamp (about 2-4 hours dry), you can use iron glue at the same time, dip (about 30-60 minutes dry), carry out detailed processing, clean up the excess glue with a wallpaper knife, use an oil pen or a brush to repair the color with the same color as the object, spray primer (dry in 5-10 minutes), sand flat with 320# sandpaper, and then spray the top coat, finish.
In addition: clean up the loose debris, put a strong adhesive glue at the gap position to fix, spray the anti-whitening catalyst, about 2-3 minutes, after drying, sanding with sandpaper, repair the color, spray paint, and finish

1. The color difference of the product is caused by the lack of color control of the product materials and components in the production process, and the second is affected by air and humidity, discoloration, color fading, etc.
2. Color matching, first analyze which structures the base color of the product consists of. At present, the base color of the product is red, yellow, black and white.
3. The materials required for blending are: Tianna water, slow drying water, alcohol, plus red, yellow, black and white essence.
4. Before wiping: 1. Put the color classification that meets the product requirements; 2. 3 pieces of cotton white cloth, 40mm long and 30mm wide; 3. One piece is dipped in colored water, one piece is dipped in slow dry water, and the other piece is ready to clean up excess color dust.
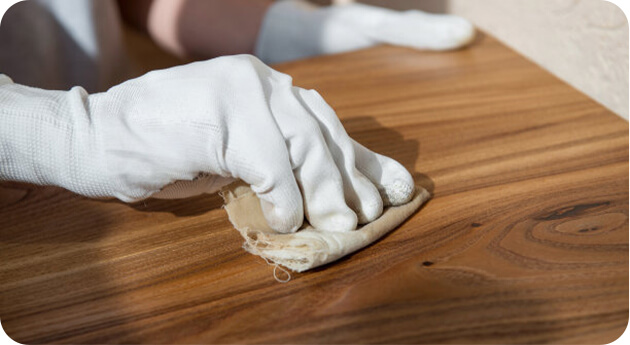
5. When wiping color: wipe back and forth evenly along the texture of the wood grain of the product until the color of the product is consistent, and after the color is finished, clean up the color variegation, but the surface of the product appears slightly foggy, and it will disappear naturally after a period of time.


 LANGUAGE